Introduction
-
This document describes all supported versions of the Schneider Security integrated agent.
-
Supported PACS versions: Requirements
Prerequisites
-
A Schneider Operator is required to make all settings mentioned in this document.
-
The Agent also needs to have an Operator for accessing the Schneider API.
-
The Agent also needs to have a connection string for accessing the Schneider SQL Database.
Configuration
PACS Configuration
Creating the technical user role
-
Open Security Expert Client application.
-
Click on
Globalin the upper menu and selectRoles -
Click the Add icon on the top right
-
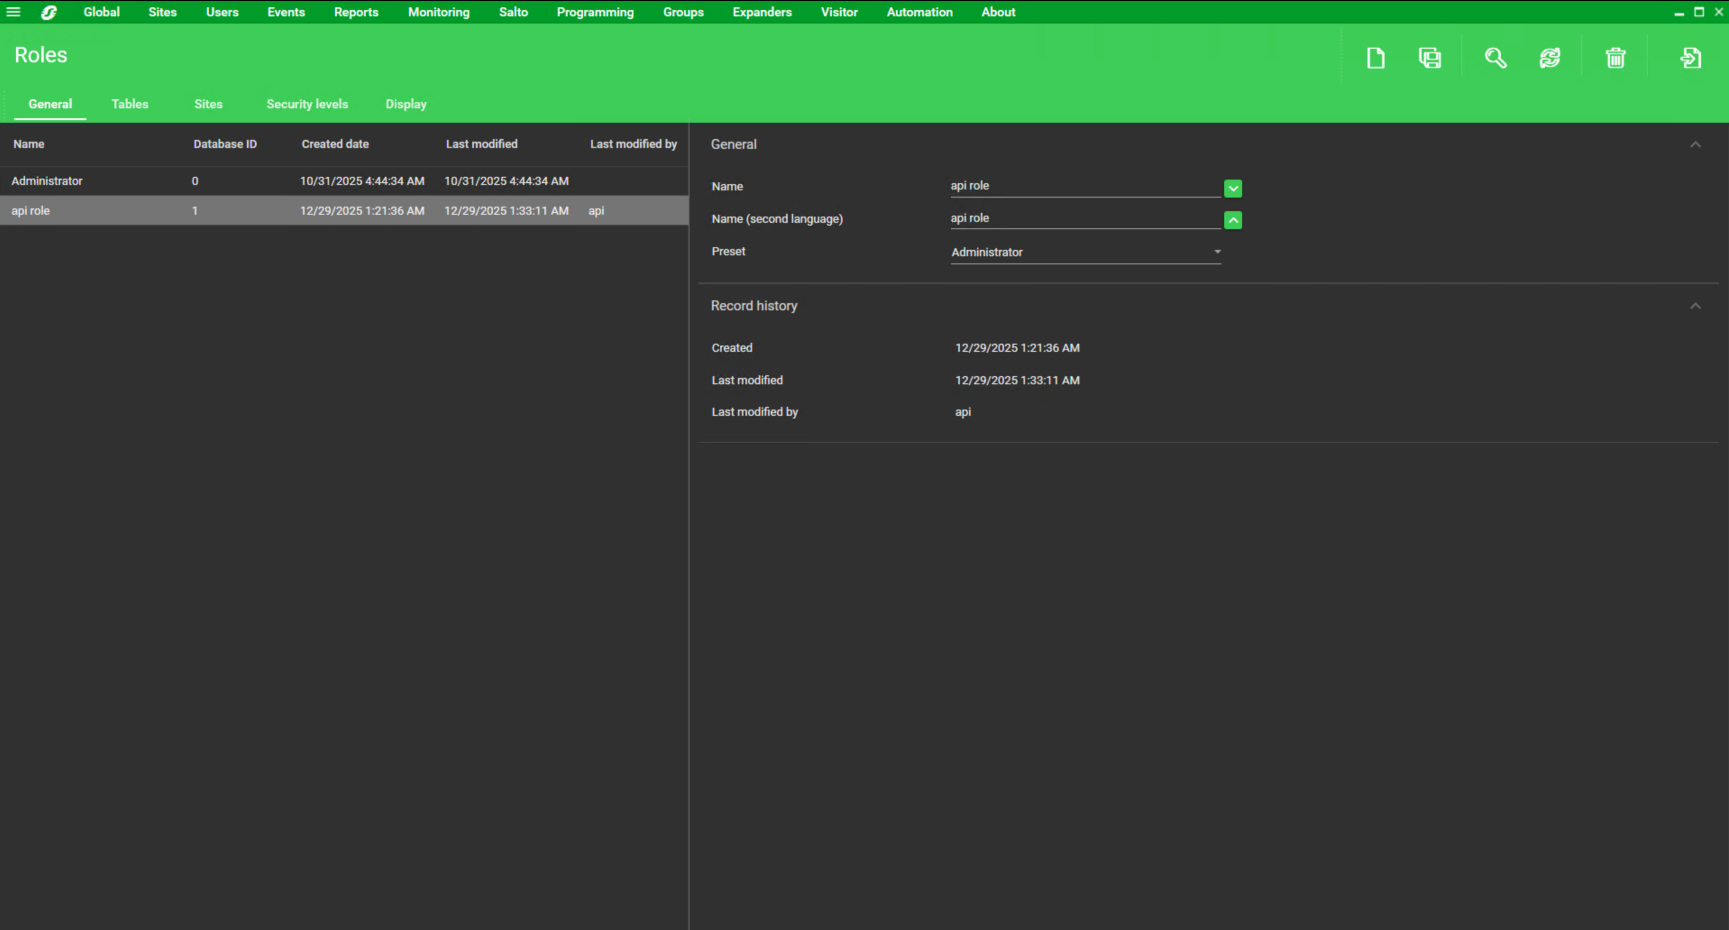
Enter the
Namefor the technical user system role, useAdministratoras preset and save the created role.
Creating the technical user
-
Open the Security Expert Client application.
-
Click on
Globalin the upper menu and selectOperators -
Click the Add icon on the top right
-
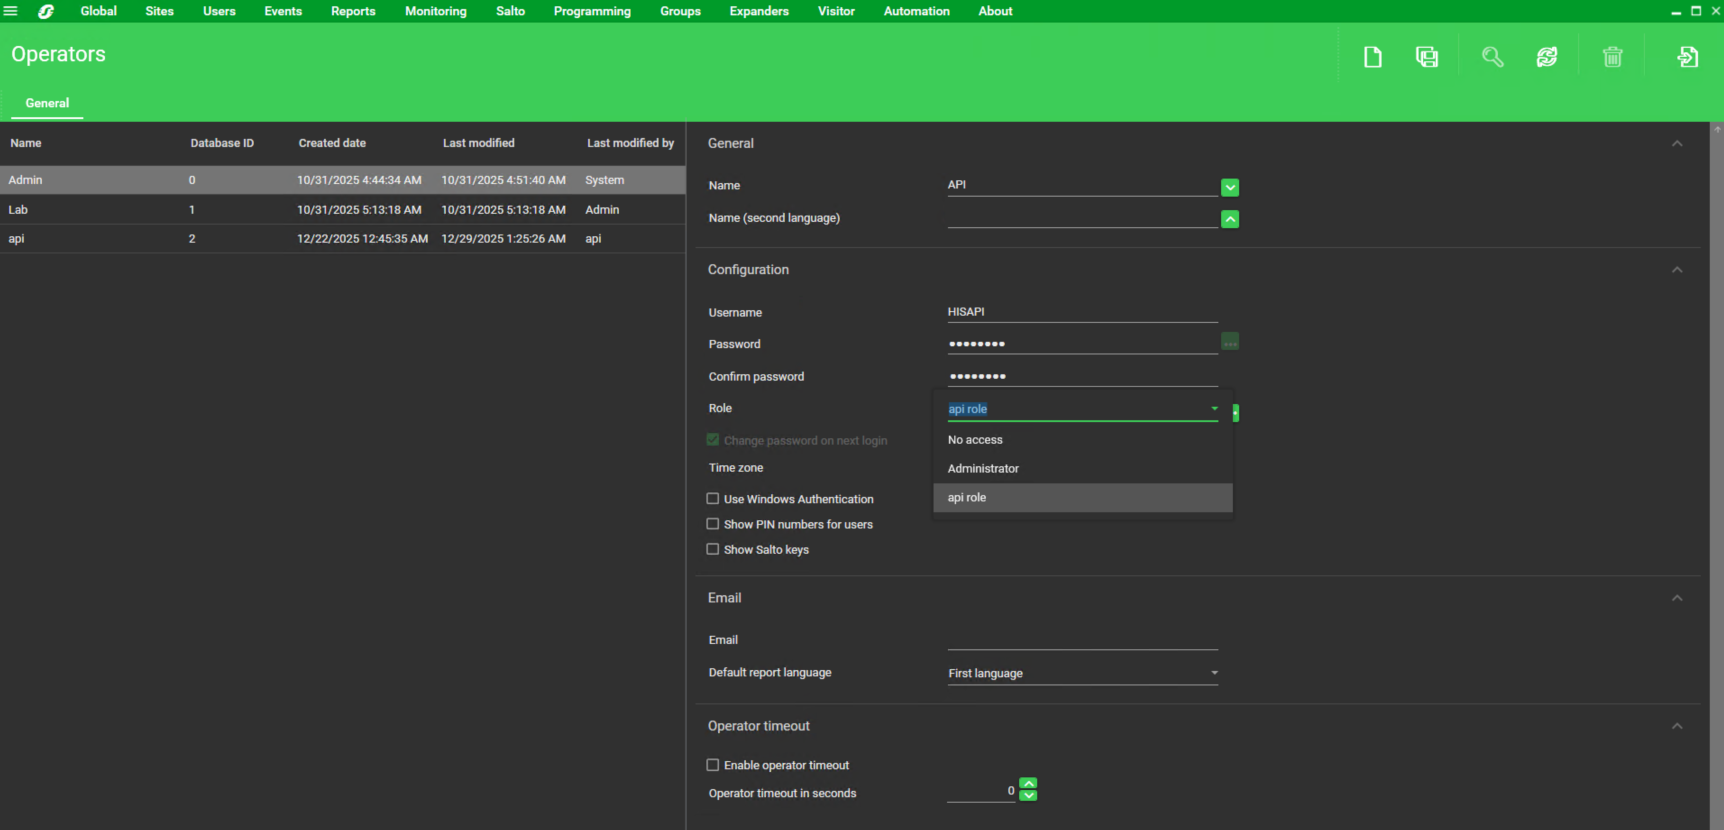
Enter the technical user
Nameand fill in thePassword -
Set the previously defined
Role -
Set the requested TimeZone and save the created user
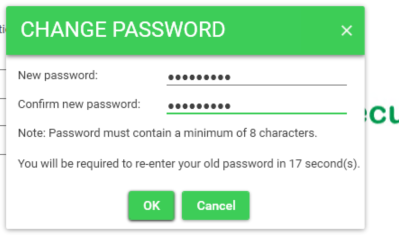
To finish the technical role setup, log in to the Schneider app under the newly created technical user and change the system password
Setting the Record Group
-
Open Security Expert Client application.
-
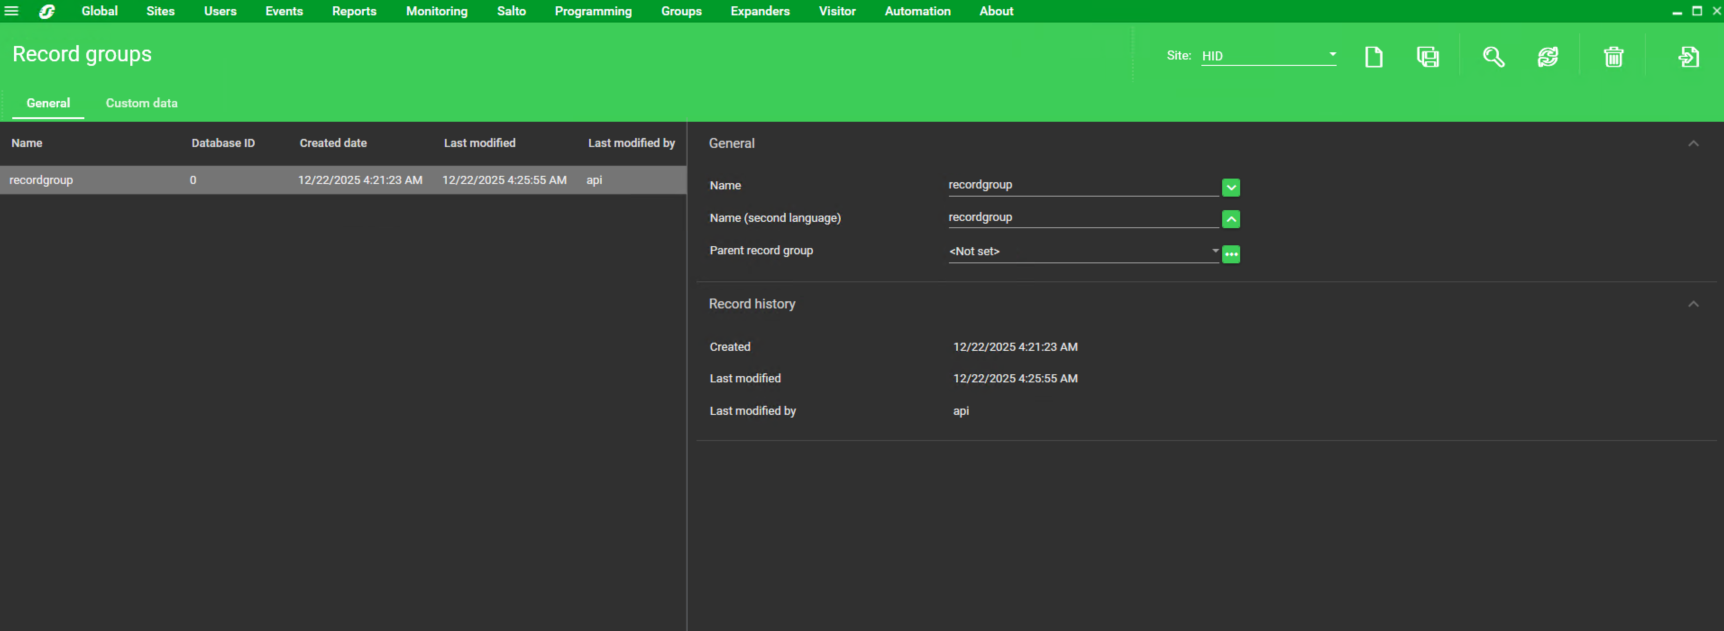
Click on
Sitesin the upper menu and note the Database ID of the Record Group to be used in this installation.
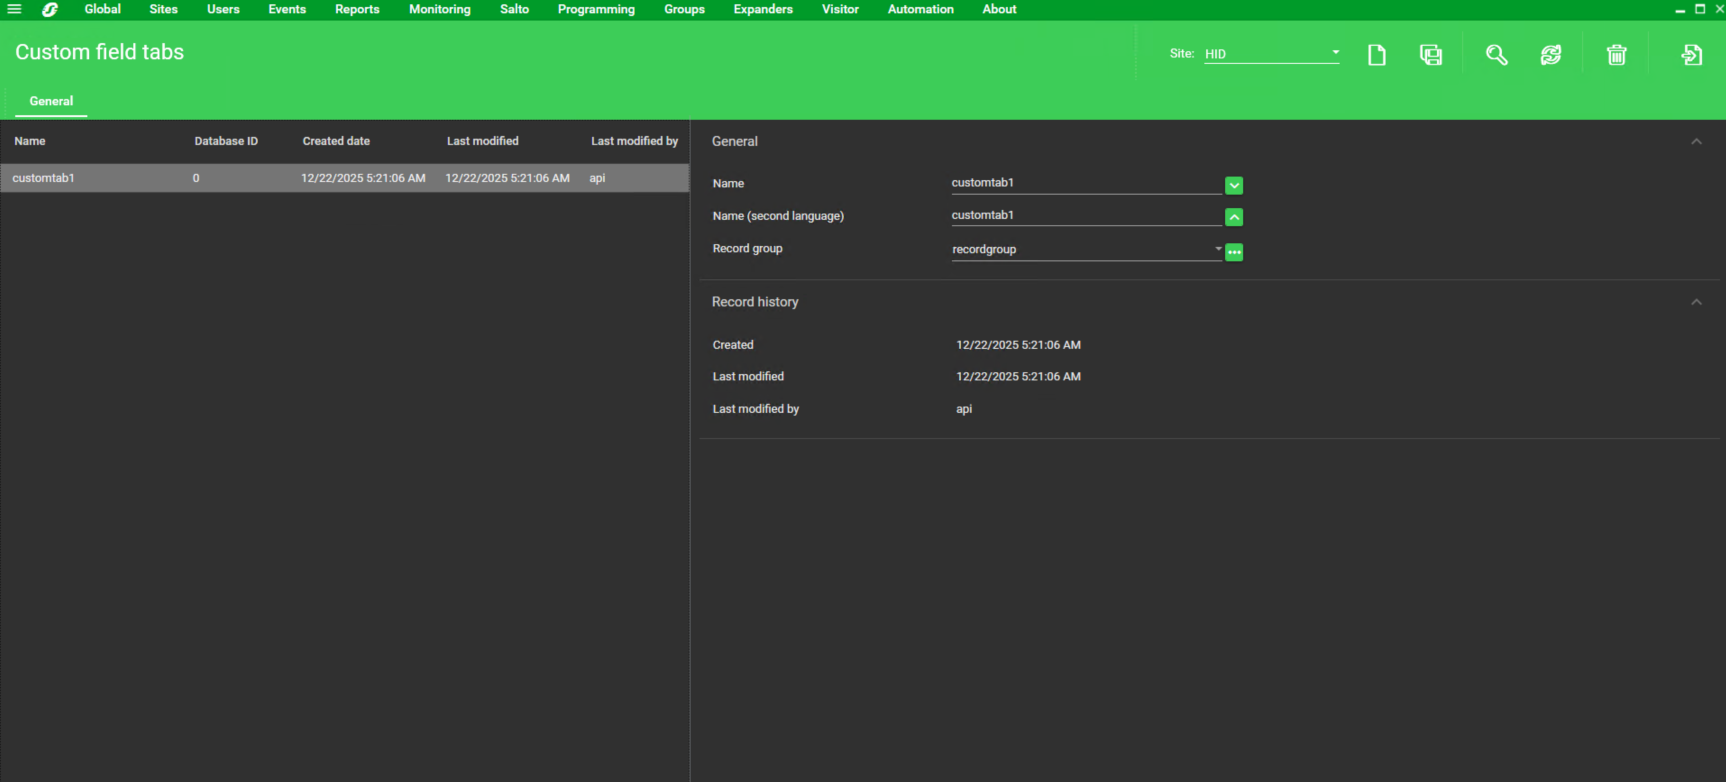
Creating technical custom fields - Custom Tab
-
Open Security Expert Client application.
-
Click on
Usersin the upper menu and selectCustom tabs. -
Click the Add icon on the top right
-
Create a new tab with the preferred name
-
Set the
RecordGroupthat will be used in this installation -
Save the created Custom Tab
The tab is not required, it works as custom fields placement, which allows to verify that the necessary custom fields exist in the user detail in the selected Recordgroup.
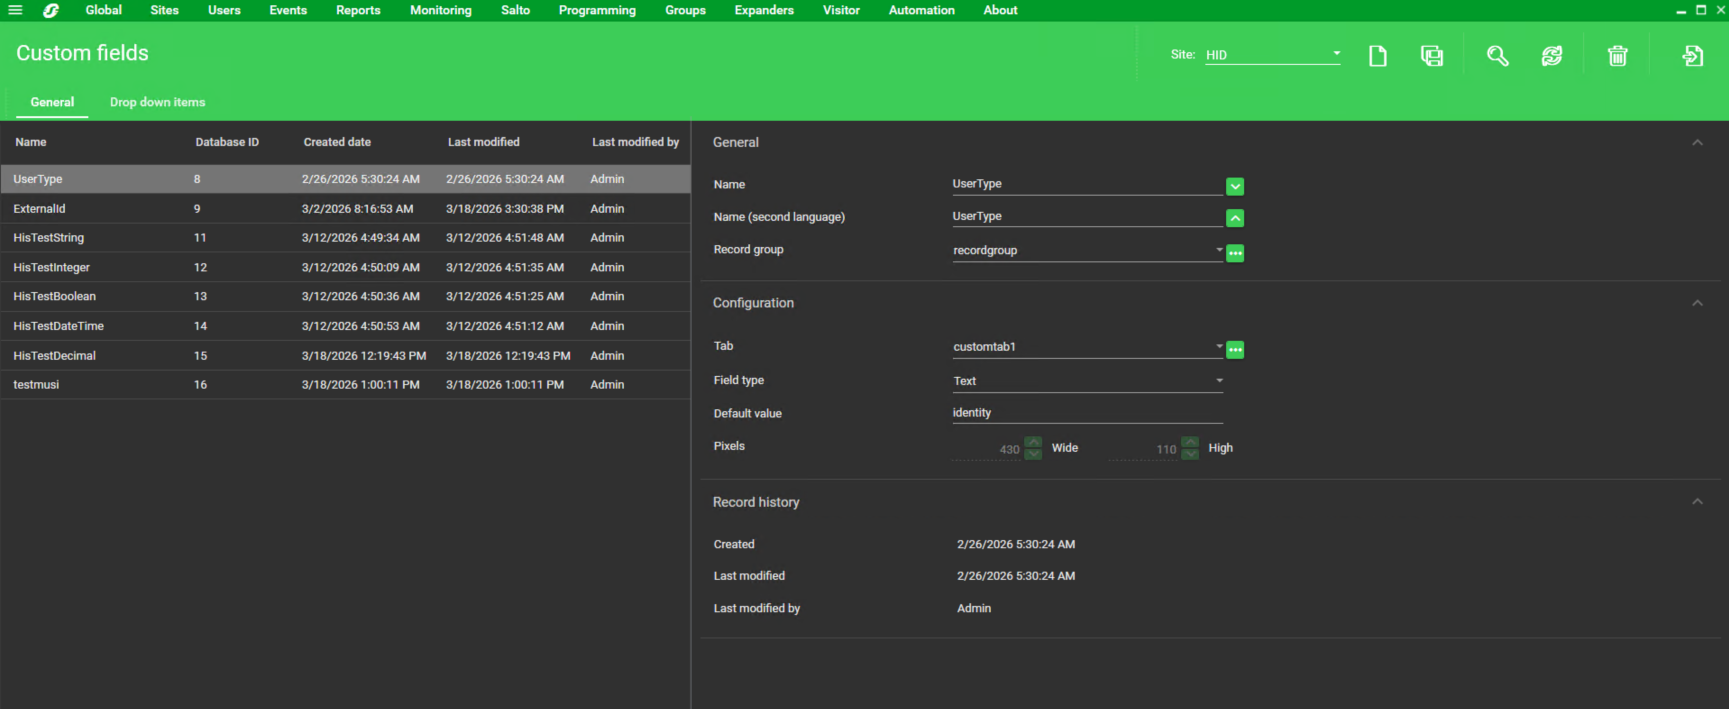
Creating technical custom fields - UserType
-
Open Security Expert Client application.
-
Click on
Usersin the upper menu and selectCustom fields. -
Click the Add icon on the top right
-
Add the
Namethat will be used for the UserType extension field -
Set the
RecordGroupthat will be used in this installation -
Set the Field Type to
Text -
Save the created Custom Field
-
Note the Custom Field name and Database ID for installation settings
Creating technical custom fields - External Id
-
Open Security Expert Client application.
-
Click on
Usersin the upper menu and selectCustom fields. -
Click the Add icon on the top right
-
Add the
Namethat will be used for the External Id extension field -
Set the
RecordGroupthat will be used in this installation -
Set the Field Type to
Text -
Save the created Custom Field
-
Note the Custom Field name and Database ID for installation settings
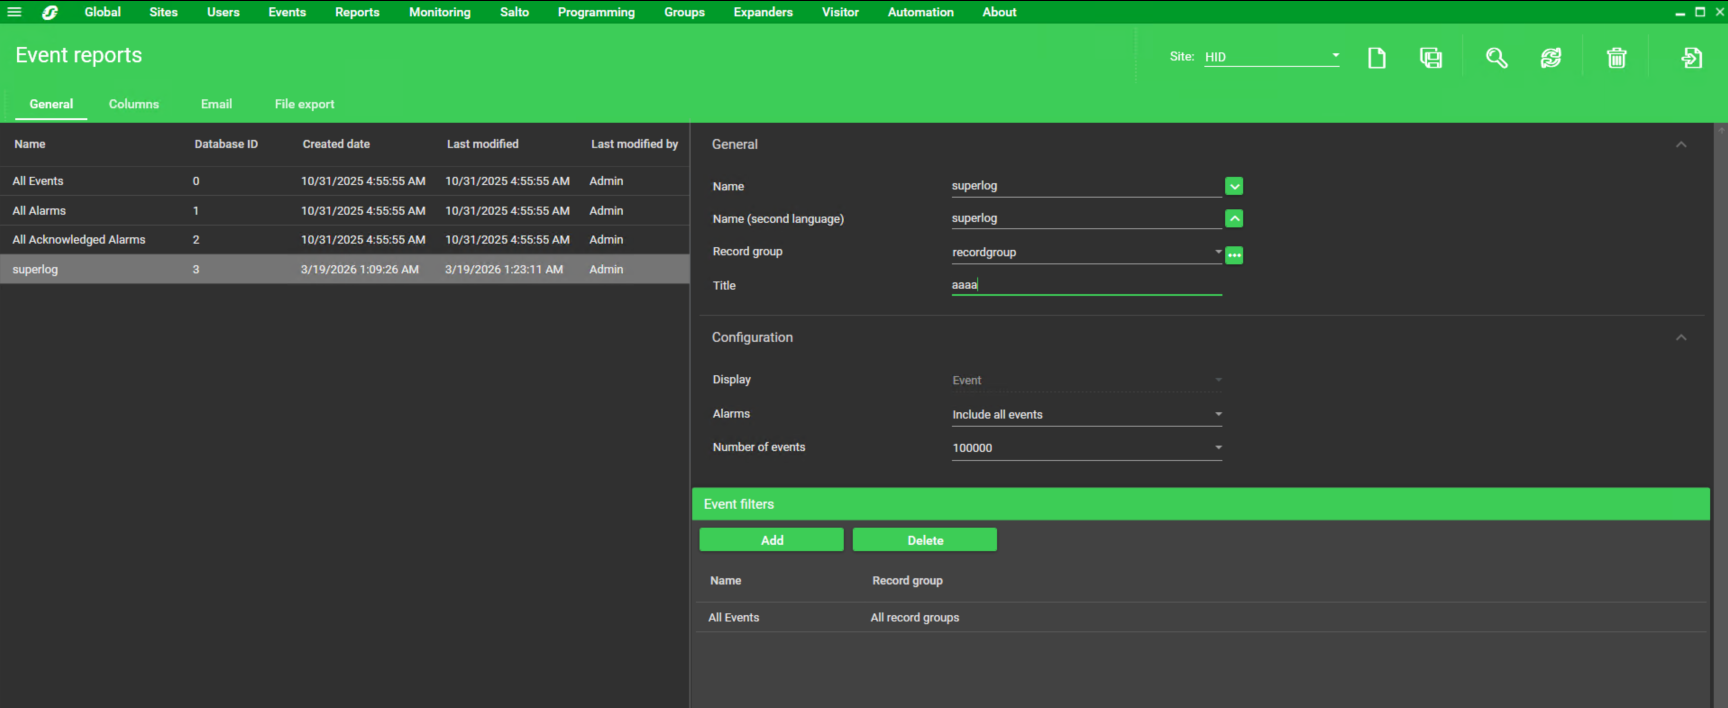
Creating Event Report for Log polling
-
Open Security Expert Client application.
-
Click on
Reportsthe upper menu, selectSetupand thenEvent. -
Click the Add icon on the top right
-
Add the
Namethat will be used for this report -
Set the
RecordGroupthat will be used in this installation -
Define the required Event level in
Alarm(include all events) -
Add filters if required (filters can be added later)
-
Save the defined report
-
Note the Database Id for Event Report configuration
Agent requires a custom report. The default report 0 does not work.
Agent Configuration
General agent startup
Step 1: Download
To obtain the pacs-agent_{pacs-name} Docker image, follow the HID Agent Administration Guide for End-Customer.
Step 2: Create environment
Create a file named .env with the following content:
Agent__TenantId=example-tenant-id
Agent__PacsId=example-pacs-id
Auth__ClientId=your-client-id
Auth__ClientSecret=your-client-secret
In case you are connecting to a different environment than HID production, you need to set the proper URLs:
Auth__AuthNProvider=https://auth.example.com
Agent__PlatformUrl=https://platform.example.com
-
Adjust all file parameters according to your setup.
-
It is recommended to store this configuration on an encrypted drive or delete
.envfile as soon as the Docker image is executed.
Step 3: Run Docker image
docker run -d \
  --env-file .env \
  pacs-agent-{pacs-name}:latest
Step 4: Check that the Docker image is running
docker ps
Environment variables description
Related to HIS
-
Agent__PlatformUrl: HID Integration Service URL (https://his.hidglobal.com/ais/v1).-
This information is provided by HID. By default, this is set automatically to the production environment value and does not need to be set manually in most cases.
-
-
Agent__TenantId: Tenant ID within HID Integration Service.-
This information is provided by HID.
-
-
Agent__PacsId: Unique ID assigned to the agent during registration.-
This information is provided by HID.
-
If you registered your PACS on your own, this would be the
IDyou gave to the PACS.
-
Related to HID Authentication Service
-
Auth__AuthNProvider: HID Authentication Service URL (https://auth-us.api.hidglobal.com/idp/t89d23e0b2445510399335/authn).-
This information is provided by HID. By default, this is set automatically to the production environment value and does not need to be set manually in most cases.
-
-
Auth__ClientId: Client ID obtained during registration.-
This information is provided by HID.
-
-
Auth__ClientSecret: Client secret obtained during registration.-
This information is provided by HID.
-
Don't forget to replace the {pacs-name} placeholders with the actual name of the pact agent.
Agent-specific configuration
{pacsd-name} = siemens_schneider-integrated
Environment variables for Schneider:
-
Schneider__Url: Url of the Schneider API service, E.g. https://10.154.52.183:8040/SecurityExpertSOAPService/Service.svc -
Schneider__UserName: Technical user’s username from the HIS Schneider Security Agent | Creating the technical user section. -
Schneider__Password: Technical user’s password. -
Schneider__SiteId: Site settings from Schneider Security, default is1 -
Schneider__RecordGroupId: RecordGroup of this installation -
Schneider__UserTypeCustomFieldName: Name of the CustomField declaring whether the user is visitor or identity -
Schneider__IdentityTypeValue: Value of the UserType field which indicates that the user is identity -
Schneider__VisitTypeValue: Value of the UserType field which indicates that the user is visitor -
Schneider__DefaultAccessLevelScheduleId: Identification of timing schedule in which the user is allowed to enter, use2147483647for unlimited access -
Schneider__ExternalIdCustomFieldName: Name of the CustomField that contains External Id -
Schneider__ConnectionString: Server=<IP ADDRESS>\SQLEXPRESS;Database=<Database name>;User Id=<User Id>;Password=<User password>;TrustServerCertificate=True;
Agent-specific .env file part example:
Schneider__Url=https://10.154.52.183:8040/SecurityExpertSOAPService/Service.svc
Schneider__UserName=<username>
Schneider__Password=<password>
Schneider__SiteId=1
Schneider__RecordGroupId=0
Schneider__UserTypeCustomFieldName=UserType
Schneider__IdentityTypeValue=identity
Schneider__VisitTypeValue=visitor
Schneider__DefaultAccessLevelScheduleId=2147483647
Schneider__DefaultCredentialTypeFormat=5
Schneider__ExternalIdCustomFieldName=ExternalId
Schneider__ConnectionString=<db-connection-string>
Self-signed HTTP SSL certificate
The Agent supports self signed (un-trusted) SSL certificate.
Agent-specific .env file can be extended by this part for example:
-
Add the self-signed SSL certificate fingerprint:
Schneider__SslCertificateFingerprintSha256=<certificate-fingerprint> -
Ignore the SSL certificate completely.
Schneider__TurnOffSslVerification=true
Option 2 (ignore the SSL certificate) is not recommended in production.
SSL/TLS encryption is still used, but the agent will accept any server certificate, including invalid or untrusted ones.
Limitations
-
Extension fields have to be created manually; please see the extension field setup.
-
Listing of identities/visits assigned to an Access group is only viable through direct SQL connection.
-
Visitors are created as identities and separated by different values in specified Custom field
-
The extension fields for identity credentials and visit credentials are not supported. Provides the self (native fields) only.
-
The extension fields for identity PINs and visit PINs are not supported. Provides the self (native fields) only.
Unsupported operations
|
Operation |
Note |
|---|---|
|
|
Schneider Security expert does not provide the functionality for activation & deactivation of pins |
|
Identity Picture
|
PACS API is not available for Pictures. |
|
Visit Picture
|
PACS API is not available for Pictures. |
|
|
|
Limited operation
|
Operation |
Note |
|---|---|
|
|
This is available only when a database is configured (using the |
|
|
Visit |
Naming Mapping
Entities
|
AIS Entity Name |
PACS GUI Term |
|---|---|
|
Identity |
User (defined by custom field) |
|
Visit |
User (defined by custom field) |
|
Card Format |
Credential type |
|
Identity Credential |
Credential, Card |
|
Visit Credential |
Credential, Card |
|
Access Unit |
Access Level |
|
Identity Access |
Access Level |
|
Visit Access |
Access Level |
Operations
|
AIS Entity Operation |
PACS GUI Term |
|---|---|
|
Activate |
Set the |
|
Deactivate |
Set the |
|
Check-in |
Set the |
|
Check-out |
Set the |
Creation of extension fields
Manual for Creating an EF in the PACS - Identity
-
Open Security Expert Client application.
-
Click on
Usersin the upper menu and selectCustom fields. -
Click the Add icon on the top right
-
Add the
Namethat will be used for the new extension field -
Set the
RecordGroupthat will be used in this installation -
Set the Field Type to desired type
-
Save the created Custom Field
Supported entities and data types
List of Entities Supporting Extension Fields (Relevant to AIS)
|
Entity |
Supports EFs |
|---|---|
|
Identity |
Yes |
|
Visit |
Yes |
|
Credential |
No |
|
Access Unit |
No |
List of Supported Data Types for Extension Fields
|
Variable type (AIS) |
Variable type (Security Expert) |
|---|---|
|
Boolean |
Option |
|
Integer |
Numeric |
|
Decimal |
Emulated (Text) |
|
String |
Text |
|
DateTime |
Time and Date |